

![Crochet Colour Block Easy Batternburg Scarf [Free Video Tutorial & Written Pattern!]](https://images.squarespace-cdn.com/content/v1/5e18a0efb9904526f1bedb80/1764588491350-YHQ6V7MWOM8ZDRDY6KQA/BLOG+Batternberg+Scarf.jpg)
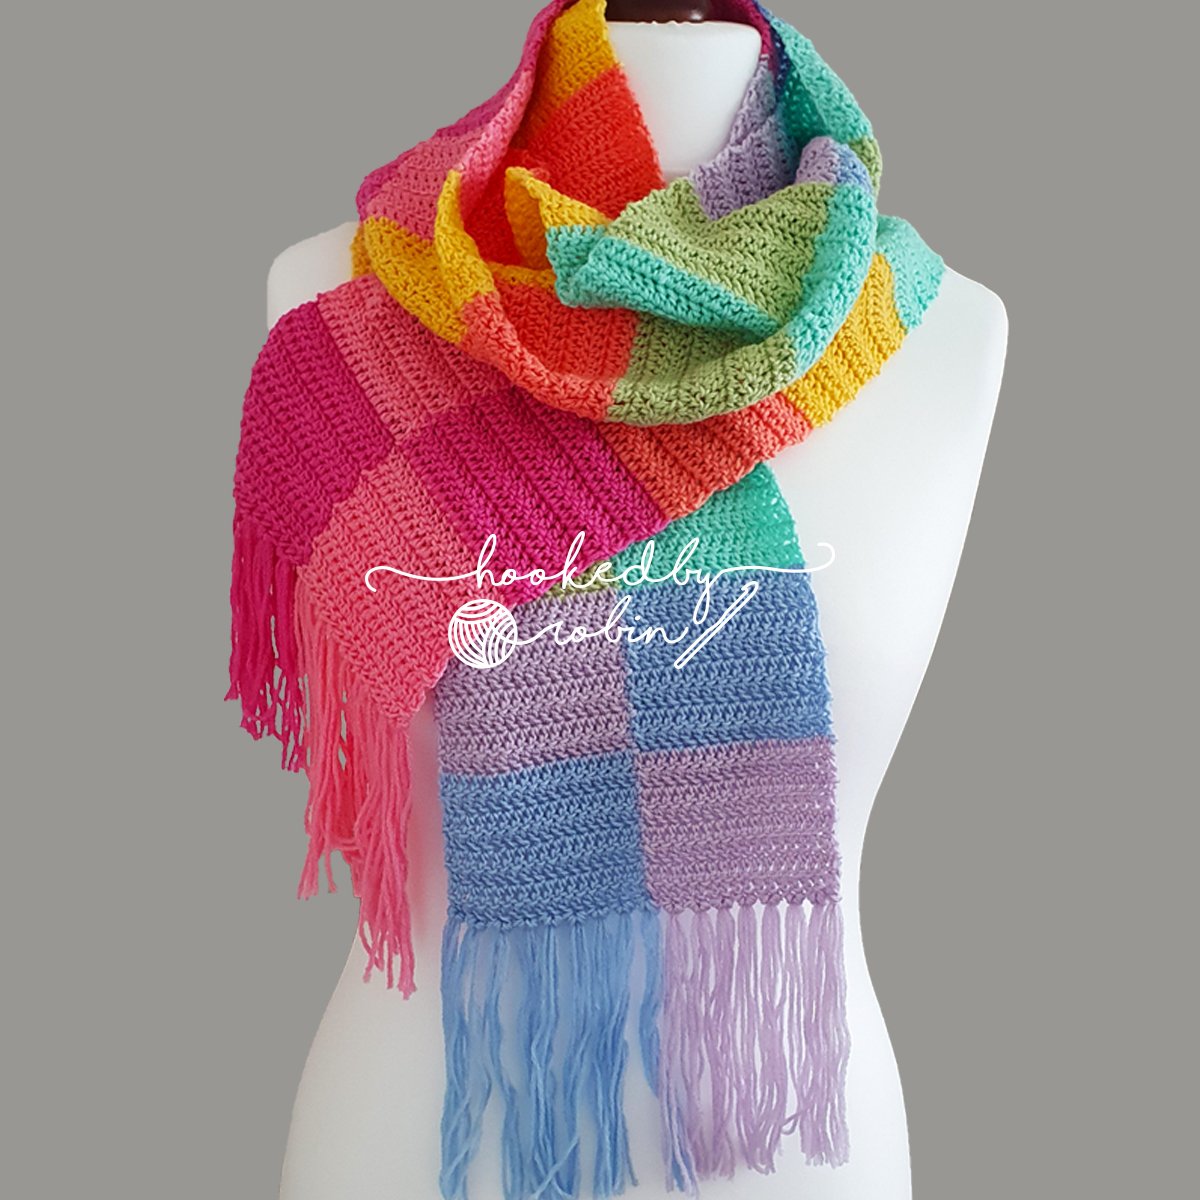
Crochet Colour Block Easy Batternburg Scarf [Free Video Tutorial & Written Pattern!]
Learn how to crochet a super fun colour block chequered style scarf!
With a super simple ONE ROW REPEAT and a nifty colour change trick, the video walks you through step by step how to crochet this scarf.
Watch the full step by step video tutorial below or alternatively, keep scrolling for the written pattern :)
Pin for later


Crochet Bella Coco Merino Scarf WRITTEN PATTERN
USA STITCH TERMS
Yarn: Two or more colours
Hook Size(s): according to your yarn - for extra drape, increase hook size by 0.5mm
For my scarf I used Bella Coco Merino Wool with a 4.5mm in the following shades - listed in order of use:
Raspberry (shade number 26)
Ballerina (shade number 14)
Corn (shade number 17)
Flamingo (shade number 20)
Tea Green (shade number 9)
Seafoam (shade number 29)
Cornflower (shade number 11)
Lavender (shade number 24)
Bella Coco Merino available to purchase here: SHOP BELLA COCO YARN 👈😀
For my personal scarf I started with Raspberry and made 17 Foundation Double Crochet Stitches then switched to Ballerina for another 17 Foundation Double Crochet Stitches.
Each block is 8 row tall
Abbreviations:
● Ch = Chain
● DC = Double crochet
● FDC = Foundation double crochet
● Rep = Repeat
● St = Stitch
Stacked Double Crochet: Insert your hook into the stitch, yarn over, pull up a loop so that there are two loops on the hook, yarn over and pull through to complete a single crochet stitch. Put your hook in the stitch you just created, yarn over, pull up a loop so that there are two loops on the hook. Yarn over and pull through to complete the stitch.
Pattern for Scarf:
Row 1: With Colour A, make any number of FDC according to half the width of your scarf. Attach Colour B and make FDC for the remaining width of your scarf.
For example, I made 17 FDC with Colour A (Raspberry) and 17 FDC with Colour B (Ballerina)
To change colours:
Complete the stitch as per usual and extend the loop on your hook.
Remove the hook from this loop and insert it into the front loop of the stitch and the bar next to it.
Wrap the new colour around the hook and pull it through both loops. You will now start working with this new colour. Pull the tail of the previous colour to tighten the stitch.
Row 2: Turn and make 1 Stacked DC.
Make 1 DC in each st of Colour B.
After working the last st of this colour, change colours.
Make 1 DC in each st of Colour A.
Row 3: Turn and make 1 Stacked DC.
Make 1 DC in each st of Colour A.
After working the last st of this colour, change colours.
Make 1 DC in each st of Colour B.
Row 3: Rep row 3, working the colours as they come (or adding new ones as you’d like). I made each colour block 8 rows tall.
When you’ve reached your desired length for your scarf, fasten off and cut the yarn.
Weave in the ends.
Pin for later

If you spot any errors in the written pattern please do let me know.
Happy Crocheting!
Robin
![Crochet Granny Shawl & Border AS YOU GO [Free Video Tutorial & Written Pattern!]](https://images.squarespace-cdn.com/content/v1/5e18a0efb9904526f1bedb80/1756756167522-U8OGFRYGJBX0IYUB24AR/blog+granny+shawl.jpg)
![Crochet Jewelspun Scarf [Free Video Tutorial & Written Pattern!]](https://images.squarespace-cdn.com/content/v1/5e18a0efb9904526f1bedb80/1663320128763-99SDD4YNMKMIUN816WQG/blog+jewelspun+scarf.jpg)
![Crochet Chunky Mesh Scarf [Free Video Tutorial & Written Pattern!]](https://images.squarespace-cdn.com/content/v1/5e18a0efb9904526f1bedb80/1696433810909-8KNPO6DHN8XRS7U6NGFC/blog+chunky+mesh+scarf.jpg)
![Crochet a Simple Shell Stitch Scarf [Free Video Tutorial & Written Pattern!]](https://images.squarespace-cdn.com/content/v1/5e18a0efb9904526f1bedb80/1725188166702-EB9T9OSTCIP2RLQS9KXF/BLOG+shell+scarf.jpg)